 You ever wanted a Windows to run on a USB hard drive or flash drive, to use on any computer you want? It’s possible :-D. Thanks to WinToUSB.
Here’s how to install a portable version of Windows 8.1 (or other versions, like Windows XP or 7) on a USB hard drive that you can take anywhere.
Note that this is different from installing Windows from a USB drive, which allows you to install Windows on a computer that doesn’t have a CD drive (for that, please check this post). Here, we’re actually installing Windows on a USB drive so we can run it from a drive on any computer you want, and take it with you for troubleshooting, remote work, and so on.
You only need:
- A Microsoft Windows installation disc or ISO image – We recommend using Windows 8, that will allow you to use your portable installation on any computer. Microsoft Windows 7 is not as portable and may have driver or activation issues if you use it on other computers.
- A USB drive – An external hard drive or a flash drive. USB 2.0 is not recomended (slower). A USB 3.0 driveis the best technology for this end (mutch faster).
- WinToUSB – This is the simple program that will walk you through the installation process. Download it from here.
Installation:
This is a very easy to do… Only choose the ISO sourse, the destination disk, and configure the system partitions.
Check it on WinToUse: http://www.easyuefi.com/wintousb/index.html
On my PC it only takes less than 20 minutes, but I’ve read that some users wait an hour to do it.
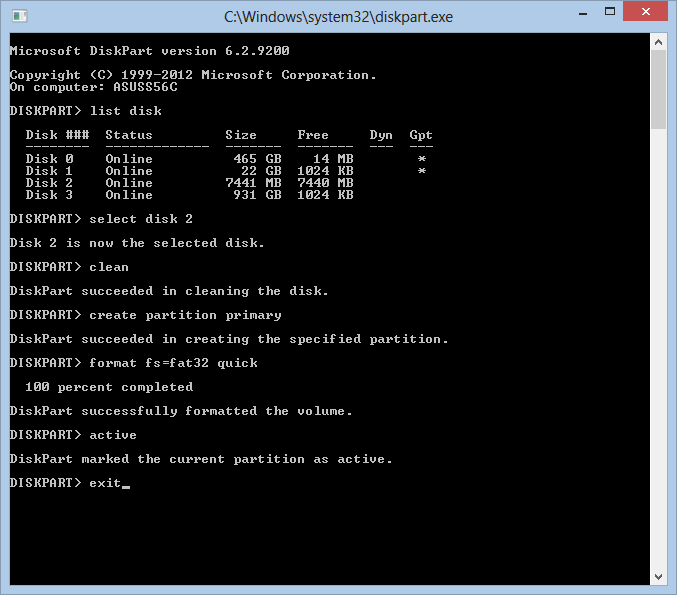
You will need to make 2 partitions (system partition with +-300MB and a boot partition with the space that you desire – more than 30GB is recomended for Windows 8). You can check this page: http://www.easyuefi.com/wintousb/faq/en_US/What-are-system-partitions-and-boot-partitions.html for more information.
References:
http://lifehacker.com/how-to-run-a-portable-version-of-windows-from-a-usb-dri-1565509124


