Vídeo:https://youtu.be/8FKR35OidyU?si=tK_wlTmTGqsiXznf
Continue reading “The limits of learning – Kids in crisis | DW Documentary”The limits of learning – Kids in crisis | DW Documentary


Blog v.2.0.3

No mundo pós digital, onde as fronteiras entre o real e o virtual se tornam cada vez mais difusas, surgem questões fundamentais sobre autenticidade, identidade e confiança. O exemplo do “Dali digital”, uma instalação interativa baseada em tecnologia deep fake, é mais do que uma curiosidade tecnológica: é um símbolo das transformações profundas nas relações sociais contemporâneas. Afinal, quem somos nós no mundo virtual? E como podemos garantir a autenticidade das nossas interações e informações?
Continue reading “A Autenticidade nas Relações Sociais Virtuais: Quem Somos no Mundo Pós-Digital?”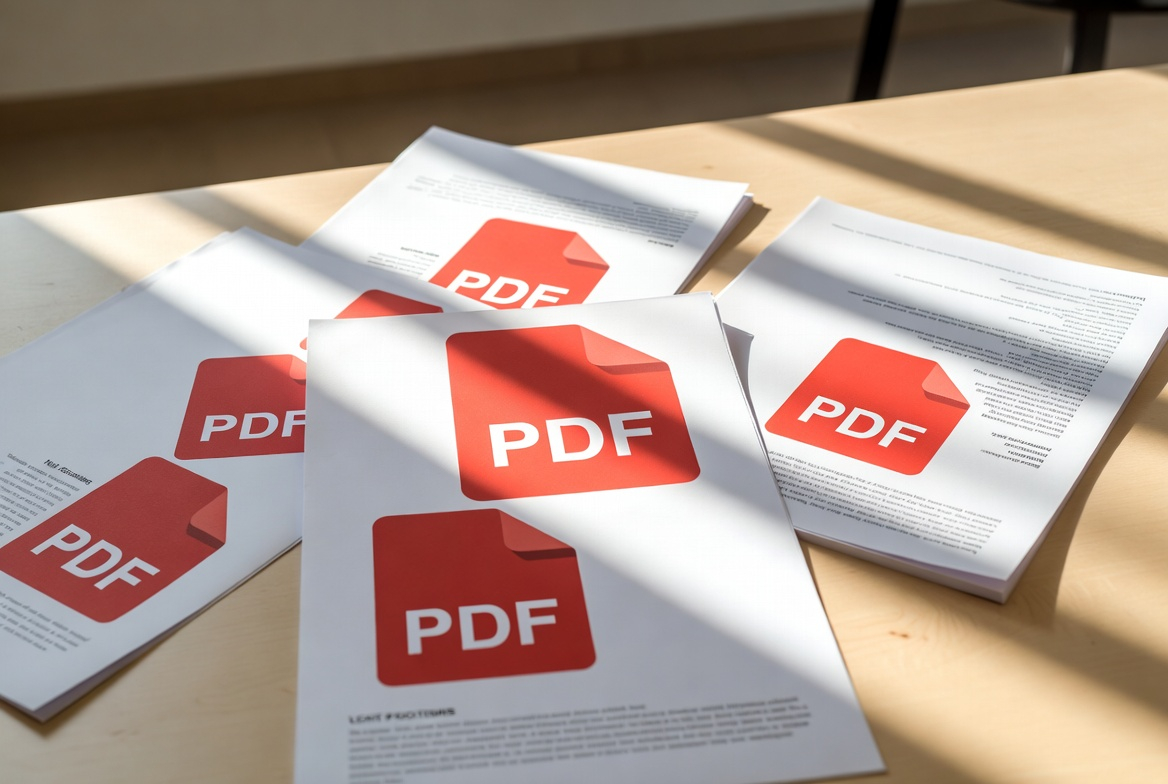
iLovePDF is an all‑in‑one online platform designed to simplify PDF management by offering a wide range of easy‑to‑use tools for editing, converting, organizing, and securing PDF files. Users can merge, split, compress, rotate, unlock, and protect PDFs with just a few clicks, as well as convert between PDF and popular formats such as Word, PowerPoint, Excel, JPG, and HTML. The platform also includes advanced capabilities like OCR for turning scanned documents into searchable text, PDF repair, adding watermarks or page numbers, comparing file versions side‑by‑side, and digitally signing documents. With its comprehensive feature set, iLovePDF provides a fast, accessible, and user‑friendly solution for handling virtually any PDF task directly from the browser.
Free and easy-to-use online PDF tools that make you more productive.
PDF24 offers you a collection of tools that you can use to work productively with PDFs and other files. The PDF24 tools leave nothing to be desired. There is hardly anything in the PDF area that you cannot do with PDF24.

A cibercultura, conceito introduzido por Pierre Lévy em 1997, tem assumido um papel central nas nossas vidas nas últimas décadas, transformando a maneira como interagimos, comunicamos e acedemos à informação.
Pierre Lévy é um filósofo e teórico da informação que explorou extensivamente o conceito de cibercultura. A cibercultura refere-se ao conjunto de práticas, atitudes e modos de pensamento que surgem com o uso das tecnologias digitais e da internet.
Continue reading “O fenómeno da cibercultura – Pierre Lévy em 1997”
Para elaborar anotações para um documento seguindo as normas de Bibliografia Anotada da APA, deve incluir uma referência completa do documento e um resumo ou avaliação crítica do conteúdo.
Continue reading “Bibliografia Anotada – Estilo APA”Hi,
This category was created to document my journey through the Master’s in E-learning Pedagogy (mPeL).
In this category, I’ll intend to share the learnings and experiences of this journey.
Each step represents an opportunity to grow, explore new ideas, and deepen my knowledge about e-learning, and this blog will be my digital logbook.

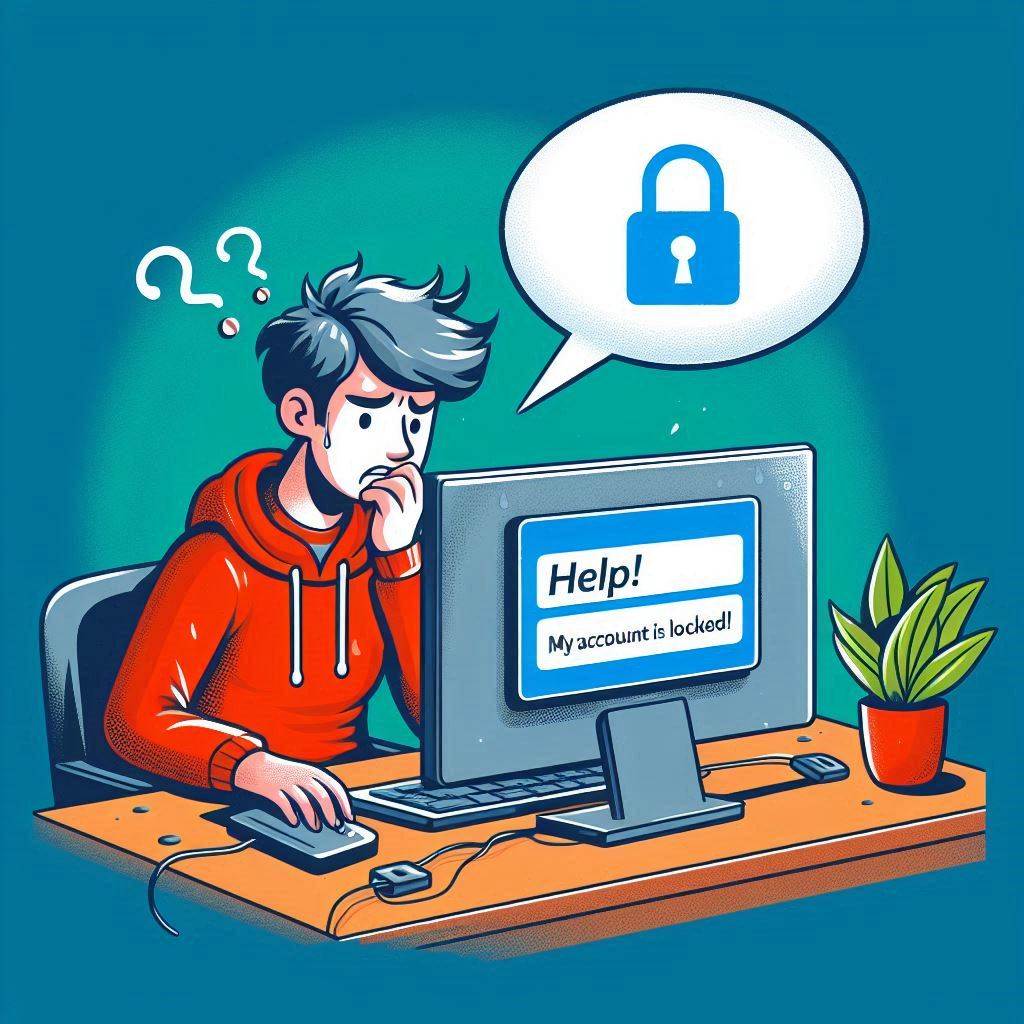
If you can’t logon to remote desktop (Microsoft Windows 10 / Windows 11) from a Microsoft account, try this command line:
[WINDOWS KEY] + R
runas /u:MicrosoftAccount\YOUR_EMAIL_ACCOUNT winver
Type you Microsoft Account password when prompted.
Now you should be able to connect to this system without an issue (assuming, of course, that was your problem and you are running a Pro version of Windows).
I recommend this course for absolute beginners. This is for my students, to learn the basis of creating static websites.
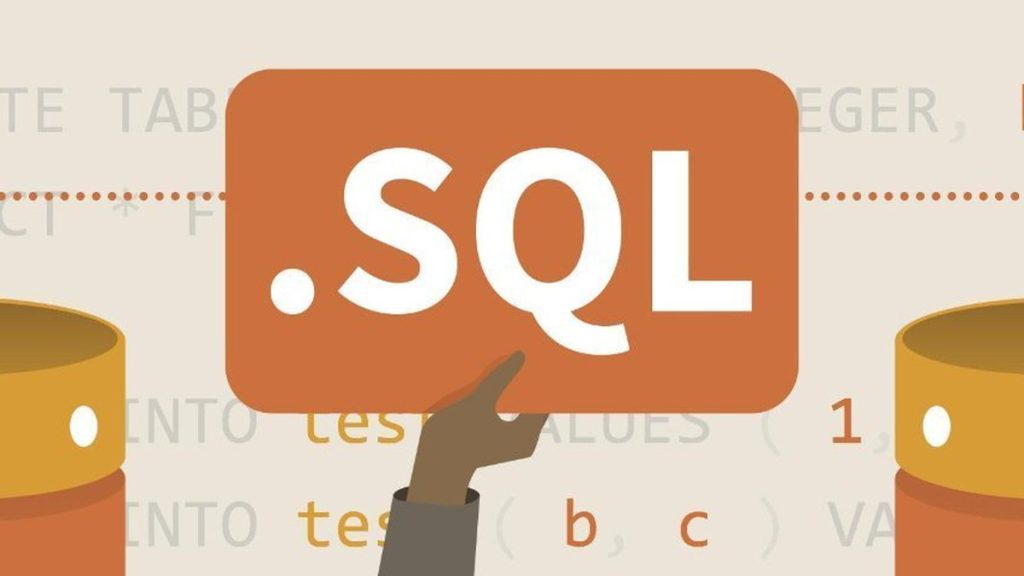
Continue reading “HTML & CSS usefull course for free”Neste artigo irei abordar a introdução a DQL (Data Query Language) – Linguagem de Consulta de dados, mas precisamente consultas dentro de consultas (subqueries).